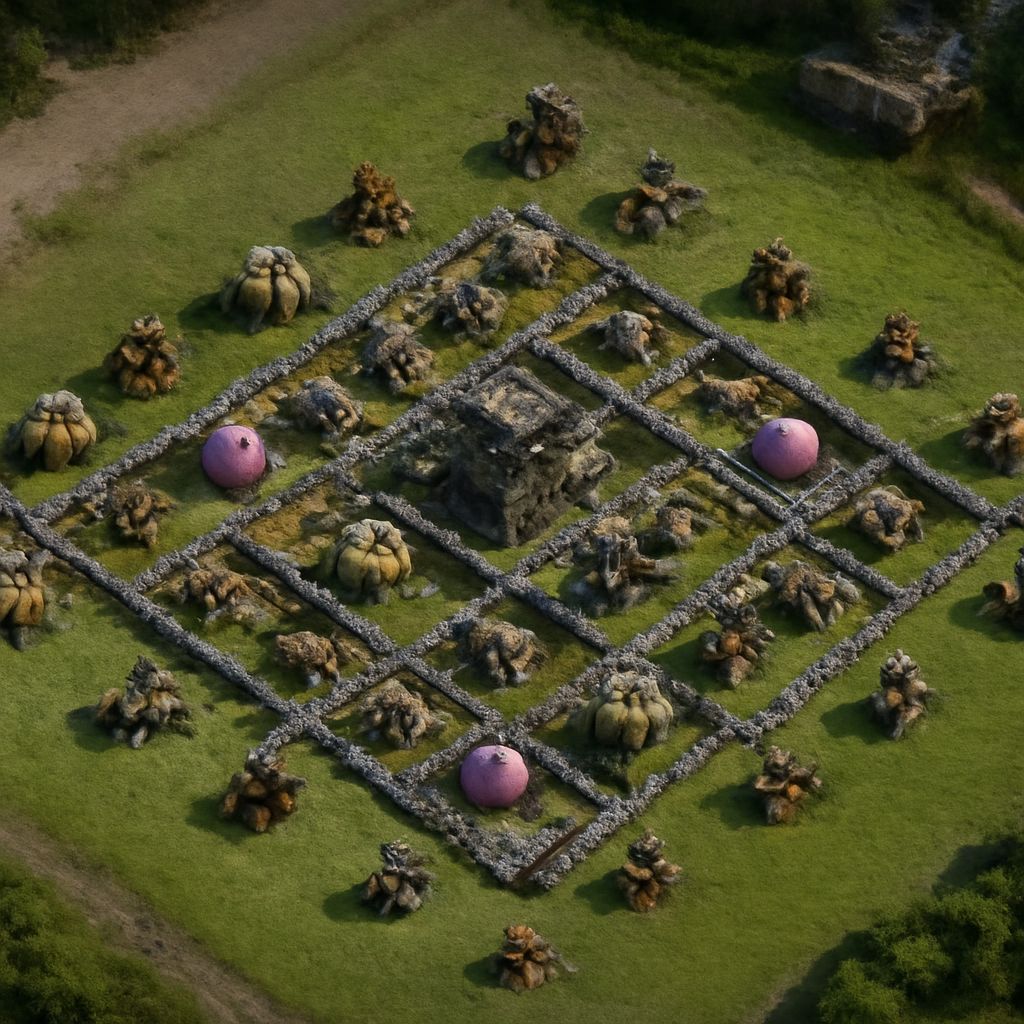
Our Town Hall level 6 base plan is a practical all-round layout: it protects resources, keeps the Clan Castle difficult to lure, and makes a direct Giant entry awkward. We then use a storage-first Town Hall 4 design and three TH9 layouts, because each level needs a different defensive objective.
These are placement blueprints rather than unlabeled diagrams. Build each plan by creating the compartments first, then place defenses so every likely attack route passes through overlapping fire.
Town Hall level 6 base: A Practical General-Purpose Layout
Keep the Town Hall and Clan Castle in the central compartment. Put the two Mortars just outside that core on opposite sides, with the Wizard Towers beside them. This gives splash coverage against troops that enter from either the top or bottom and prevents one spell or wall break from disabling every area-defense building.
- Core: Place the Town Hall, Clan Castle, and one storage in the smallest central compartment. Leave no straight path from the outer wall to the Clan Castle.
- Resource ring: Divide the remaining Gold and Elixir Storages between four separate compartments. Do not put all storages behind one wall section.
- Air defense: Separate both Air Defenses across the core and cover each with an Archer Tower. This forces early air troops to cross overlapping ranges.
- Ground ring: Put Cannons near likely Giant entries and Archer Towers at corners. Use short wall offsets to make Wall Breakers open one compartment instead of two.
- Outer ring: Keep collectors, Barracks, and Builder Huts outside the main walls, but avoid placing several buildings in a straight line where a funnel becomes effortless.
Place Spring Traps between the first Cannon and the next defense, where Giants naturally walk after targeting the Cannon. Put small bombs behind likely Wall Breaker landing points. For a dragon route, keep the Air Defenses separated rather than clustering them for easy Lightning value.
Town Hall 4 farming base: Protect Storages While Exposing the Town Hall
This Town Hall 4 farming base accepts Town Hall exposure to make storage protection the priority. Put the Town Hall outside the north wall, with two defensive buildings covering the approach. The trade-off is lost trophies when an attacker takes it, but the four storages remain harder to reach.
- Build a compact central compartment around the Mortar and Clan Castle. Place the Air Defense just behind this core, not on the outside edge.
- Give each Gold and Elixir Storage its own compartment around the core. Keep them close enough for overlapping Cannon and Archer Tower fire, but never place two storages directly beside the Town Hall.
- Put one Cannon and one Archer Tower on each side of the storage ring. Their ranges should overlap at the corners, where Giants may switch targets after breaking a wall.
- Leave collectors outside as a funnel buffer. Put Bombs behind the first wall and Spring Traps in the narrowest route between defenses.
Most TH4 attacks enter from the side nearest the exposed Town Hall, so put your strongest overlap on that side. If attackers instead walk around the Town Hall and reach a storage first, move that storage deeper and shift the outer buildings to redirect the funnel.
Good TH9 bases by Goal: Farming, War, and Trophies
The best good TH9 bases are objective-specific. We should not use a farming layout for war simply because it looks symmetrical.
- Farming layout: Center the Clan Castle and Dark Elixir Storage, then place the Town Hall in a protected but slightly offset compartment. Split Gold and Elixir Storages into the next ring. Put X-Bows on ground-and-air mode behind the core, and separate the four Air Defenses so a single entry cannot reach all of them. This layout absorbs a Giant or Queen entry in the first compartment while preserving the most valuable storage.
- War anti-three-star layout: Use an asymmetrical core with the Town Hall, Clan Castle, and one X-Bow separated by walls. Place the other X-Bow and key defenses in different compartments. Spread Air Defenses into a triangle, keep Giant Bombs in likely Hog paths, and avoid giving a single Jump Spell access to the Town Hall and every high-value defense.
- Trophy layout: Put the Town Hall centrally, with the Clan Castle and Inferno Towers covering different approaches. Use several small compartments around the core so a Queen walk or Kill Squad cannot gain multiple defenses at once. Place storages in the second ring to slow a percentage-based attack after the Town Hall is secured.
For each TH9 option, build funnels that turn troops toward a compartment rather than around the base. Against air attacks, protect every Air Defense with an Archer Tower or Wizard Tower, and avoid placing all seeking air mines on the same entry route.
Replay Checks: Tune Every Layout Against Real Attack Paths
We should judge a layout by replays, not by symmetry. Run these checks after several defenses:
- TH4: Check whether the exposed Town Hall creates a clean path to a storage. If so, move the nearest storage inward and replace an outer building with a defensive overlap. If Wall Breakers reach the core too easily, move Bombs one tile behind the first wall.
- TH6: Watch the first Giant target and the point where troops turn after a wall break. Add a Spring Trap to a repeated Giant route, but keep it away from the only path leading to your Mortars. Review air replays to confirm both Air Defenses survive long enough to cover the core.
- TH9: Mark where the attacker creates a funnel, then count how many high-value defenses the same Queen, Jump, or Siege entry reaches. Move one key defense into another compartment when the route consistently earns excessive value. Recheck Giant Bomb and air-mine positions after every repeated attack pattern.