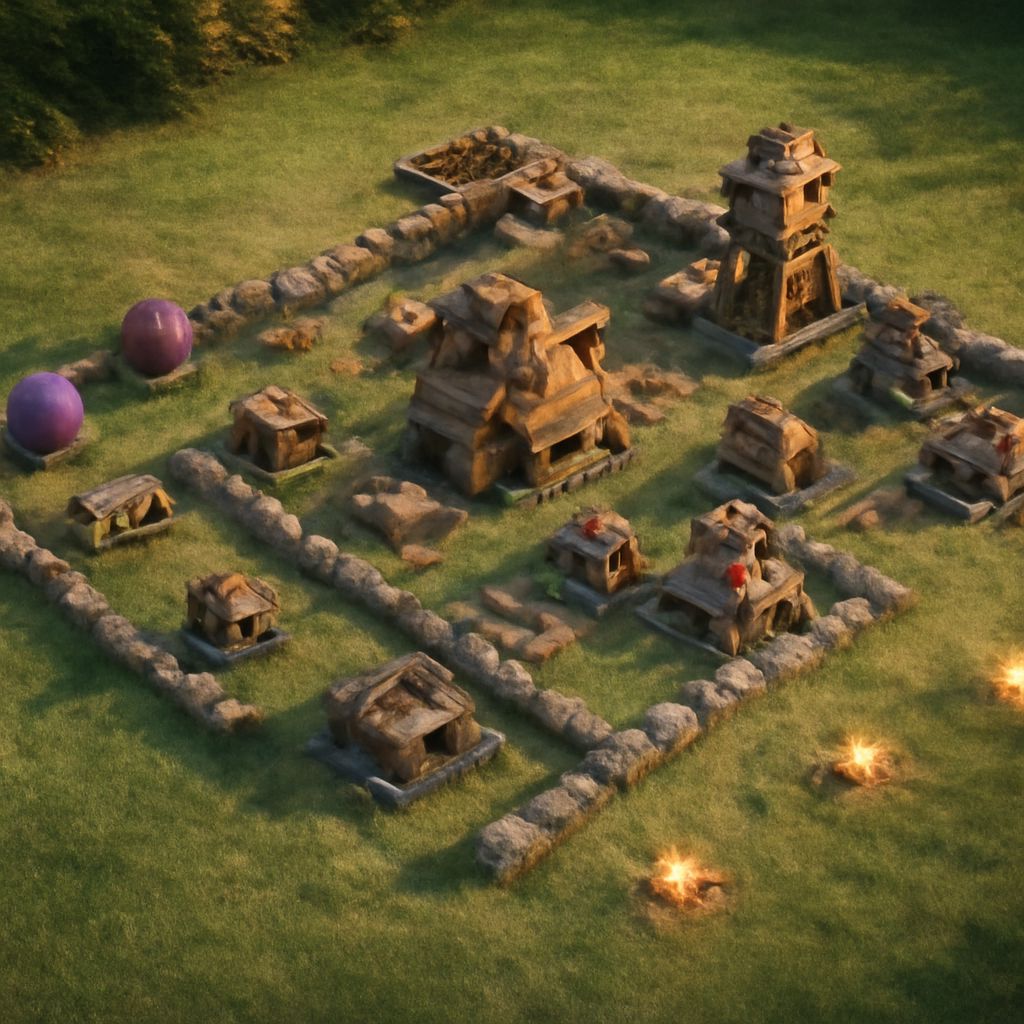
We get the best results from a BH5 base when its layout has one clear defensive purpose. Use a compact core to deny a second star, or split the approach into lanes to control percentage destruction. At Builder Hall 7, the extra defenses allow a deeper plan: delay the entry, separate ground and air threats, then protect the Builder Hall with layered fire.
These Builder Hall 5 bases are easier to build than a BH7 design, but they still need deliberate pathing. The key is deciding which buildings the attacker should reach first and which defenses must remain protected until the final phase.
BH5 Base Options: Centralize Defenses for Trophy Denial or Split Lanes for Percent Control
Option one: compact trophy-denial core. Place the Builder Hall behind two short wall sections, with the Crusher covering the most direct ground entry. Keep the Double Cannon and a Hidden Tesla close enough to punish troops that pass the first wall, but do not place every defense in one exposed cluster.
- Put Firecrackers and Air Bombs behind the core so Baby Dragons and Drop Ships cannot remove them immediately.
- Place the Guard Post near the likely entry side to pull ground troops away from the Crusher.
- Use Spring Traps at the exit of a narrow compartment, where Boxer Giants or Cannon Carts are already committed to a path.
- Use Push Traps to send ground units sideways rather than directly toward the Builder Hall.
This BH5 base is designed to deny the second star. The attacker may reach the Builder Hall, but the compact core should cost enough troops and time to prevent a reliable high-destruction finish. Keep the strongest defenses inside the first wall ring and avoid giving attackers a clean line from the edge to the Hall.
Option two: split-lane percentage control. Offset the Builder Hall toward the rear instead of placing it at the exact center. Divide the base into two uneven lanes with short wall segments, resource buildings, and outer structures. Put the Crusher in one lane and the main anti-air coverage in the other, forcing the attacker to choose which threat to face first.
- Use storages and low-priority buildings to create a long outer route without forming a perfect circle.
- Place Firecrackers so each covers a different approach, rather than allowing one troop group to destroy both.
- Put Mines near likely Cannon Cart stopping points and Spring Traps after turns in the wall path.
- Keep one lane slightly more attractive, then place the most punishing defense at the point where troops naturally converge.
This option gives up some central protection to make 100% destruction harder. It works best when attackers commonly secure the Hall from one side but then lose time navigating the remaining compartments.
Builder Base 7 Layout: Three Defensive Layers for Ground and Air
A strong Builder Base 7 layout should use three layers rather than one large enclosure. Each layer should create a different decision for the attacker.
- Outer layer: Spread resource buildings, the Guard Post, and a few non-critical structures around the perimeter. Leave no straight chain of buildings that leads directly to the core. Make one entry appear efficient, then turn that route toward a wall corner or secondary compartment.
- Middle layer: Use short wall sections to separate the Crusher, Double Cannon, Hidden Teslas, and Archer Towers. Put the Roaster where it can cover a ground approach and punish air units crossing the same compartment. The goal is to make troops retarget before they reach the center.
- Core layer: Protect the Builder Hall with the Giant Cannon and the remaining high-damage defenses, but offset them rather than stacking them behind one wall. Place Air Bombs and Firecrackers on opposite sides of the core so one Baby Dragon or Drop Ship push cannot remove the entire air defense.
Use Push Traps before the Crusher or Giant Cannon to redirect ground troops into their attack range. Place Spring Traps after corners and narrow wall openings, where Giants are likely to bunch up. Mines should cover Cannon Cart firing positions, while a Mega Mine is more valuable on the route leading toward the core than on an obvious outer tile.
Keep the Roaster and air defenses separated from the Giant Cannon. This creates a layered response: the Giant Cannon handles a heavy ground push, while the Roaster and air defenses continue working if the attacker avoids that lane.
BH5 vs. BH7: How Pathing and Protected-Defense Priorities Change
At BH5, we usually prioritize protecting the Builder Hall itself because the smaller defense count makes a direct entry difficult to stop once it reaches the core. A central Crusher, compact walls, and separated Firecrackers provide the most value.
At BH7, the priority changes from one protected target to a protected route. The Roaster and Giant Cannon add major threats, but they are also valuable targets. If both are visible from the same entry, an attacker can plan around them. Offset them across separate compartments and use outer buildings to force a longer approach.
BH5 layouts can rely on one strong choke point. BH7 layouts need at least two: one to disrupt the first troop group and another to punish troops that survive into the core. That difference is why a compact BH5 base should not simply be expanded into a larger BH7 square.
How to Find and Repair a Weak Entry Path with a Replay Test
Use each defense replay to identify the first tile where the attack becomes predictable.
- Record the attacker’s entry side, first target, and the building that caused the initial turn.
- Pause when troops split or retarget. If most units travel directly to the Builder Hall, the entry lane is too clean.
- Check whether the first defense to fall is a high-value one, such as the Crusher, Roaster, or Giant Cannon. If so, it is exposed too early.
- Move one outer building, wall segment, or trap to change that first turn. Do not rebuild the entire base at once.
A successful repair makes troops turn before the core, separates melee units from ranged support, or sends the main group into a Crusher or Giant Cannon lane. Test the same change in the next defenses; keep it only if the replay shows a later core entry without making the opposite side an effortless funnel.