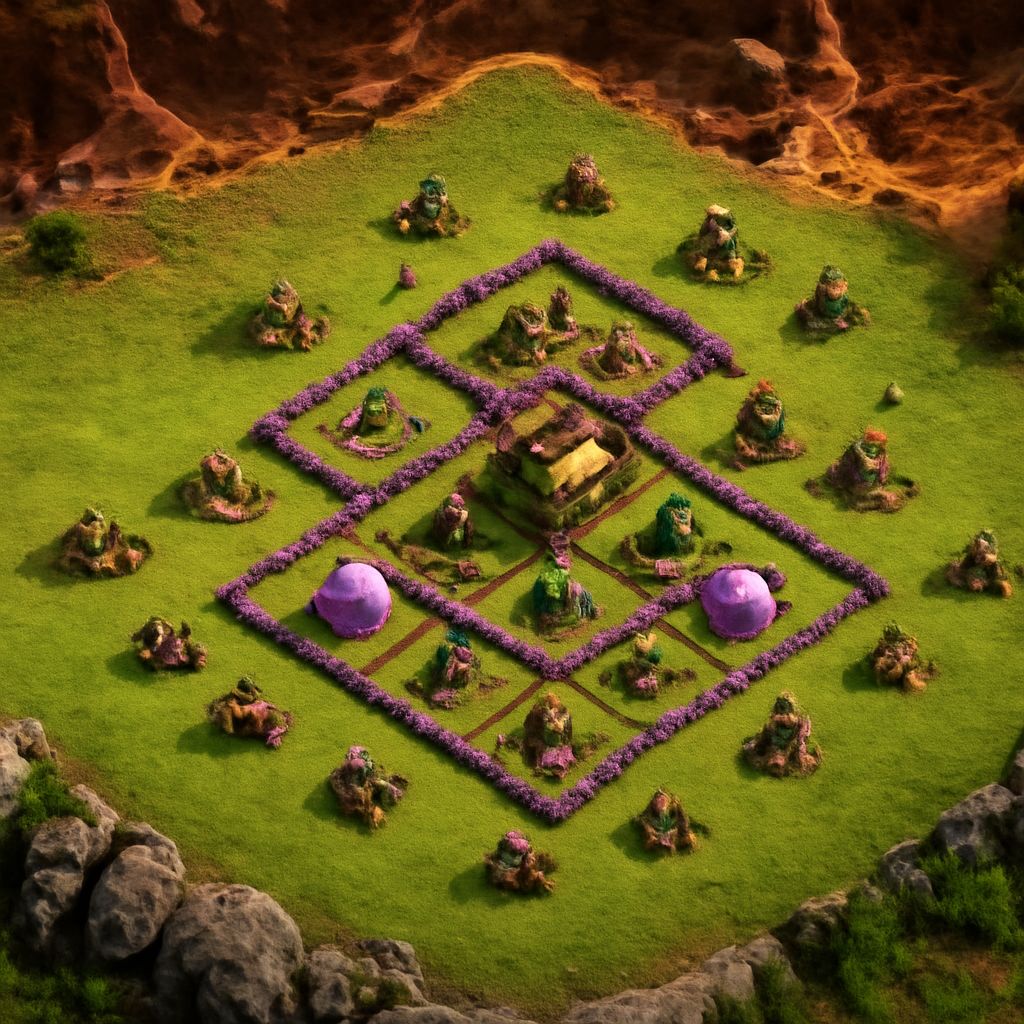
A strong Town Hall 6 base starts with a protected core, short attack paths, and defenses that cover one another. We can build that structure from a compact Town Hall 4 design rather than replacing every building position at once. The TH4 plan below protects the mortar and air defense; the TH6 plan adds compartments, Wizard Towers, and extra air coverage.
Use the layouts as building instructions, then adjust them from replays. The best placement depends on whether we are protecting resources, defending trophies, or preparing for war, but the defensive priorities remain consistent at each level.
Town Hall 6 base: Choose the defensive goal before placing buildings
For farming, keep storages inside or immediately beside the protected core so attackers must pass several defenses to reach them. For trophies or war, place the Town Hall inside the core and spread storages around the defenses to create different entry paths. We should not put every valuable building in one outer line: that gives ranged troops easy targets and makes funneling too simple.
Start with three rules:
- Protect splash defenses. Mortars and Wizard Towers should sit behind walls, where Barbarians, Archers, and Giants cannot remove them quickly.
- Cover the air approach. Air Defenses need separation and overlapping coverage, not placement together on one exposed edge.
- Make the first entry inefficient. Put collectors and builder huts outside the main wall so troops walk past a cannon or Archer Tower before reaching a breach.
Choose the side most likely to be attacked first, usually the side with exposed collectors or the shortest route to a storage. Place traps on that route, then build the walls around the defenses rather than around empty space.
Town Hall level 4 base: Build a compact core with layered coverage
Use one compact square or diamond-shaped wall block for the core. Put the Town Hall, Clan Castle, mortar, and Air Defense inside it, with the mortar near the center and the Air Defense offset from it. This protects the two most important damage types: splash damage against ground swarms and anti-air damage against Balloons.
Place the two Cannons and two Archer Towers just outside the core, one on each corner or approach. Their ranges should overlap the outer wall and the central compartment. Keep storages inside the wall when possible, but place them on different sides of the mortar so one breach does not expose every resource. Put collectors, barracks, army camps, and builder huts outside as one-building buffers.
With the limited TH4 wall count, avoid a large perimeter. Instead, use short wall projections to create two narrow entry turns on opposite sides. These turns slow Giants and make troops spend longer under cannon and Archer Tower fire. Do not leave a straight, empty corridor to the core.
Place spring traps between the outer defenses and the first wall turn, especially where Giants are likely to walk from a collector toward a Cannon. Put bombs just inside likely breach points or beside the mortar’s approach. Keep the Clan Castle central enough that its troops cannot be lured by a single outside building. This is a complete early-game structure: compact core, layered outer fire, ground splash, air protection, and predictable trap lanes.
TH6 layout: Turn the compact core into two defensive compartments
At TH6, expand the compact design into two main compartments instead of one crowded box. The central compartment should contain the Town Hall, Clan Castle, one Mortar, one Wizard Tower, and one Air Defense. Put the second Air Defense and second Wizard Tower in the adjoining compartment, separated by walls and placed far enough apart that one attack cannot destroy both quickly.
Use the additional Cannon, Archer Tower, and Hidden Teslas to guard the connecting approaches. Place Cannons toward the sides where Giants are likely to enter, Archer Towers on corners for broad coverage, and Teslas near the core or behind an unexpected wall turn. Mortars should cover different ground zones rather than sitting side by side. Wizard Towers belong near storages or likely troop gathering points, where their splash damage can hit groups.
Build the second compartment as a resource-and-defense wing. Put two or three storages inside it, but leave at least one storage outside or near the opposite edge to split the attack. Connect the compartments with a short, angled route rather than a direct opening. The first wall layer should expose attackers to a Cannon or Archer Tower; the inner layer should bring them under Mortar, Wizard Tower, and Clan Castle coverage.
Place Giant Bombs at the end of a likely Giant path, where troops bunch up before the second wall. Keep smaller bombs near wall corners that Archers and Barbarians may cross. Put spring traps between defenses, not in the center of a wide open area, so a Giant is pushed away after targeting a building. Air Bombs should cover the side that is less protected by an Air Defense, while the two Air Defenses cover opposite halves of the base.
Upgrade and replay adjustments for both base plans
Upgrade the defenses that preserve the layout’s main purpose first. At TH4, prioritize the Mortar and Air Defense, then Archer Towers and Cannons. At TH6, upgrade Wizard Towers and Air Defenses before the single-target defenses, then improve Mortars, Teslas, Archer Towers, and Cannons. Add walls around the core and compartment entrances as resources allow; a stronger wall at a junction is more useful than a long outer perimeter.
After each few defenses, run the same replay check:
- Mark the first tile where troops entered and the first wall they broke.
- Check whether the Mortar, Wizard Tower, and Air Defense covered that route for most of the attack.
- Identify the defense destroyed first and move it deeper or give it overlapping support.
- If the same entry succeeds twice, move a trap to that path, rotate a storage, or add a wall turn.
- If air troops reach the core, separate the Air Defenses and move Air Bombs toward their approach.
Keep changes small and retest. A TH4 base should remain compact; a TH6 layout should become layered without creating empty compartments that defensive buildings cannot cover.