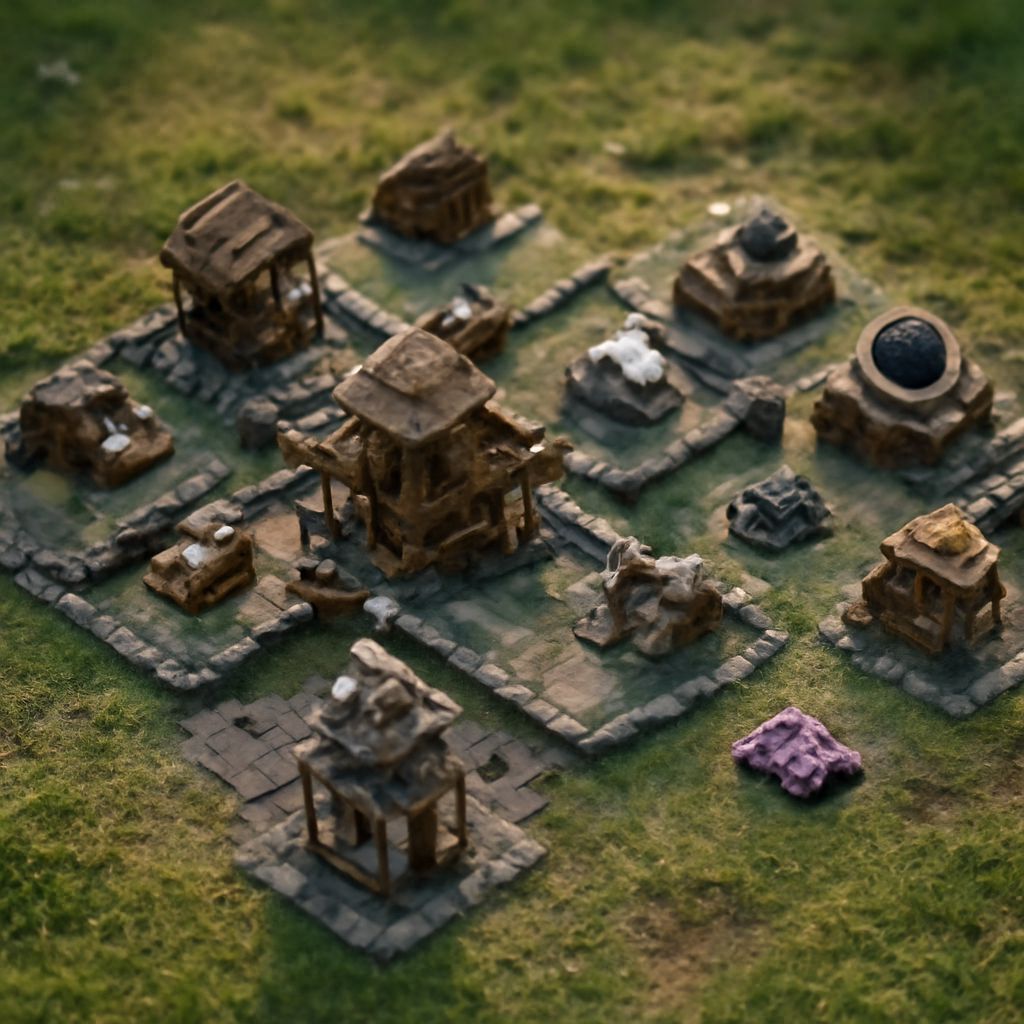
Our best BH4 base for most defenses is a compact Crusher-centered layout: it protects the Builder Hall, forces ground troops through a short turn, and is easy to rebuild at lower upgrade levels. Its main weakness is a coordinated air rush if the Firecrackers and Air Bombs cover the same lane poorly. At BH6, the best BH6 base follows a different plan. We split ground and air approaches around a Roaster-centered core instead of relying on one tight ring.
BH4 Base Criteria: Protect the Hall, Core, and Key Air Routes
A strong BH4 base should delay the first troop group, protect the Crusher from direct targeting, and make attackers choose between a slow outer route and a dangerous central route. At this level, a compact design generally performs better than a wide ring because there are fewer defenses to cover every side.
- Central Hall: Place the Builder Hall inside the second wall layer, with the Crusher close enough to punish ground troops but not exposed to the first attack.
- Forced turns: Use short wall sections and outer buildings to make Boxer Giants and Raged Barbarians turn before reaching the core.
- Air coverage: Separate the Firecrackers and Air Bombs so one Baby Dragon or air group cannot remove every anti-air defense from one angle.
- Trap value: Put spring traps at narrow wall openings and bombs on the tile where troops stop after destroying an outside building.
The best test is not a single defensive win. We want the base to prevent a direct Hall rush, force an inefficient path, and preserve at least one key defense when the attacker reaches the core.
Best BH4 Base by Defensive Goal: Compact Crusher Core, Strength, and Air-Rush Weakness
For general defense, we recommend a compact four-part structure built around the Builder Hall and Crusher. It is the best BH4 base choice when the main goal is stopping ground-heavy attacks.
- Place the Builder Hall in the central compartment, with the Crusher on the side most likely to receive the first ground push.
- Put the Cannon and Double Cannon on opposite sides of the core. This prevents one troop group from tanking both defenses while moving toward the Hall.
- Use the Guard Post outside the core but near a turn. Defending troops then pull attackers away from the shortest route rather than standing beside the Hall.
- Place Firecrackers in separate rear positions, with Air Bombs covering the approach that has fewer walls and fewer distracting buildings.
- Keep one spring trap between the outer layer and Crusher, and use push traps to send ground units across the Crusher’s attack area instead of away from it.
Main strength: the compact core makes ground troops spend time turning while the Crusher and central defenses work. Main vulnerability: air troops can bypass the wall funnel. If both Firecrackers are visible from the same entry, an air rush may destroy the core without triggering the ground traps. Move one Firecracker toward that exposed route rather than adding more walls around the Hall.
Best BH6 Base by Defensive Goal: Split Pathing, Roaster Core, and Trap Trade-Offs
BH6 needs more deliberate pathing. Our recommended layout places the Builder Hall in a central compartment, the Roaster beside it, and the Crusher in a separate ground-defense compartment. The goal is to prevent one opening from giving Boxer Giants, Cannon Carts, or air troops access to every important defense.
- Build two visible approach lanes with staggered walls. One lane should turn toward the Crusher; the other should pass through Roaster coverage before reaching the Hall.
- Keep the Roaster close to the Hall but not on the outside edge. It should cover the central approach and punish troops that complete the first wall turn.
- Place the Crusher in the second compartment, protected by a spring trap and a push trap aimed across its damage zone.
- Split the Firecrackers and Air Bombs across opposite sides. Add an air-mode Mine along the cleaner air route and a ground Mine near the Cannon Cart entry.
- Use Cannons, the Double Cannon, and the Guard Post on the outer corners to slow the first group and make the attacker reveal a lane before reaching the core.
Main strength: split pathing makes a single troop composition or entry point less efficient. Trade-off: the layout has more space between defenses, so a neglected lane can become a free route. If replays show attackers ignoring one side, move a high-damage defense or trap into that lane instead of making both lanes equally dense.
Weak-Side Symptoms and Evidence-Based Layout Adjustments
Use the last three replays to identify the weak side. Look for the first defense lost, the route that reaches the Hall, and whether traps activate before or after the attacker has already gained value.
- BH4 ground breach: If ground troops reach the Hall without entering Crusher range, add a short wall segment to create one more turn and move the nearest spring trap to the forced tile before the Crusher.
- BH4 air breach: If air troops remove both Firecrackers from one angle, move one to the opposite rear corner and set a Mine to air mode along the attack line.
- BH6 one-lane collapse: If two of three replays show the same lane reaching the Hall, move the push trap at its final turn so troops cross the Crusher or Roaster’s coverage, rather than placing another trap on the already-safe lane.
- Decision rule: Choose BH4 for a compact anti-ground core and simple trap funneling; choose BH6 for split pathing and stronger punishment of single-lane attacks.